3 to 10 Foot Single Folding Gates Installation Guide
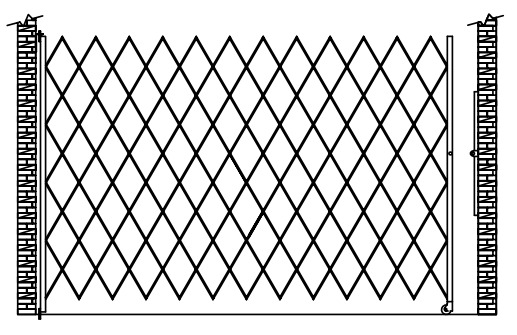
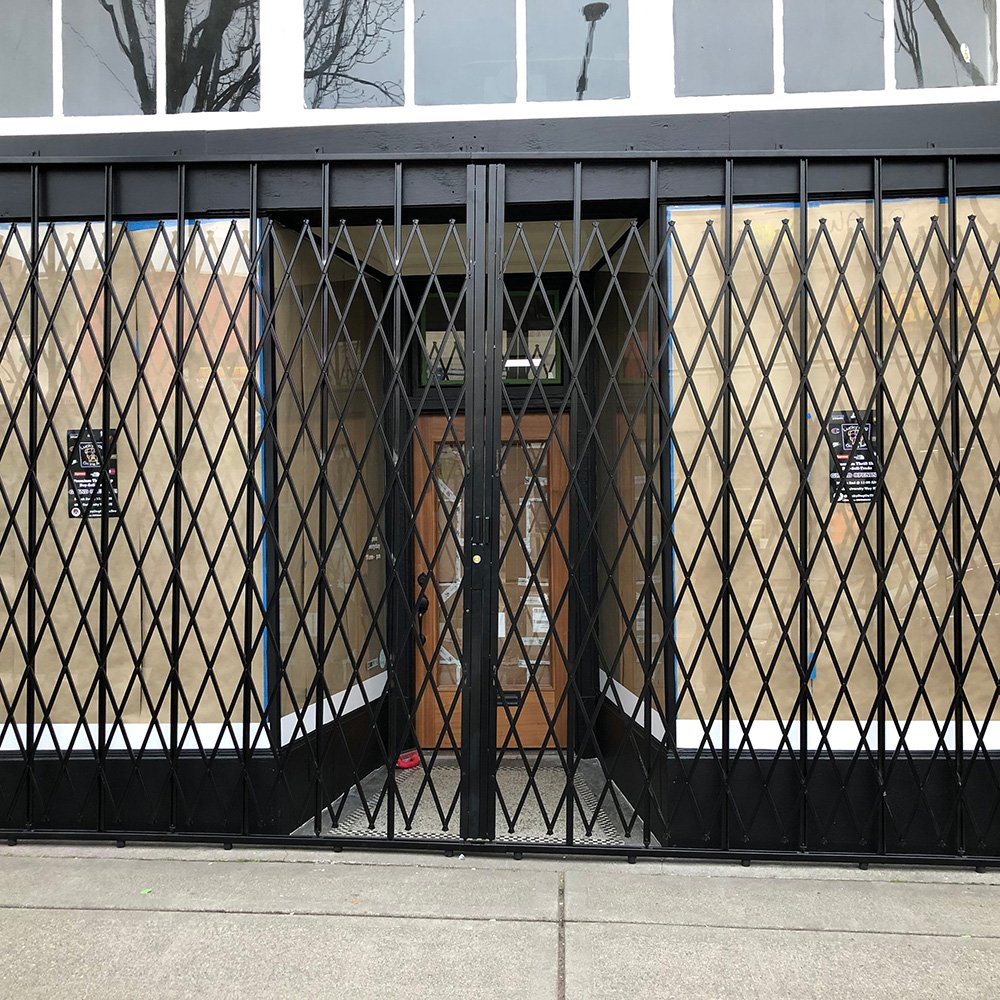
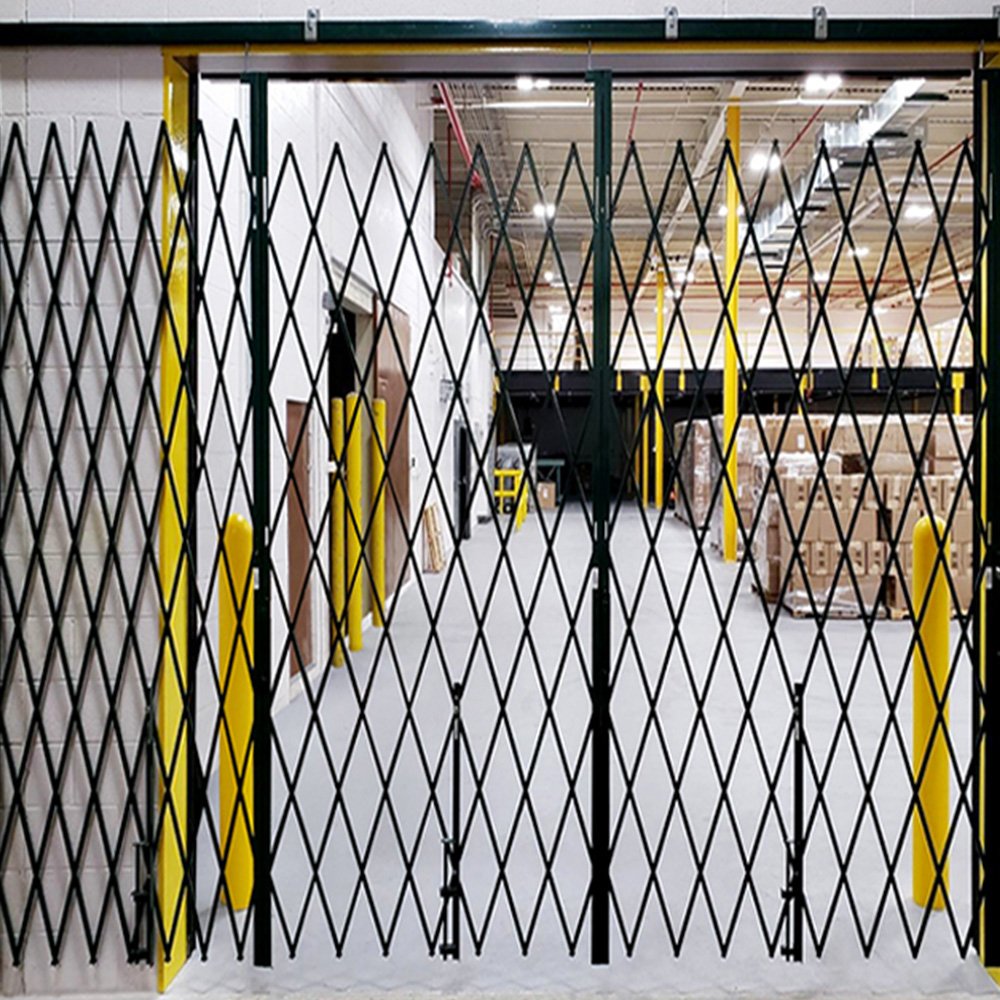
Installation of a single folding security gate does not have to be complicated; Preferred Security Gates is here to guide you through the process. Whether you are installing a single folding gate in a school, at your business, in a warehouse, or in a distribution center, we have compiled a list of materials, and the assembly steps you will need to follow carefully.
Single Folding Gate Installation Hardware and Tools
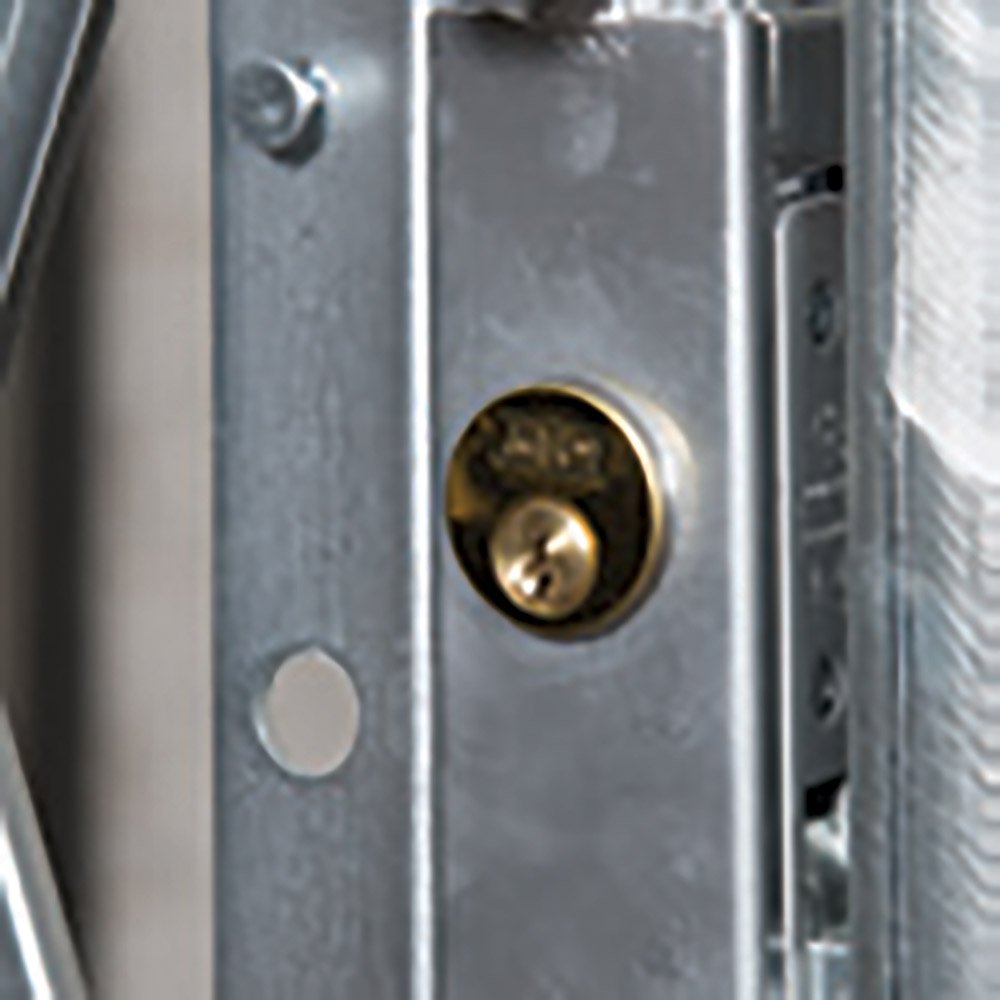
Included with the Gate: 2" Standard L-Bracket, a bearing washer, and a locking bar.
Additional Hardware Required: 5/16" x 2" Long Lag Bolts (Wall installation will require lead anchors as well)
Tools Required: A drill and a 3/4" masonry drill bit or a 1/4" masonry & wood drill bit
Single Folding Gate Installation Instructions
- 1. Determining Gate Placement: Determining gate placement consists of several smaller steps, as the gate will need to be extended, loosely installed, and removed to ensure hardware assembly is done effectively.
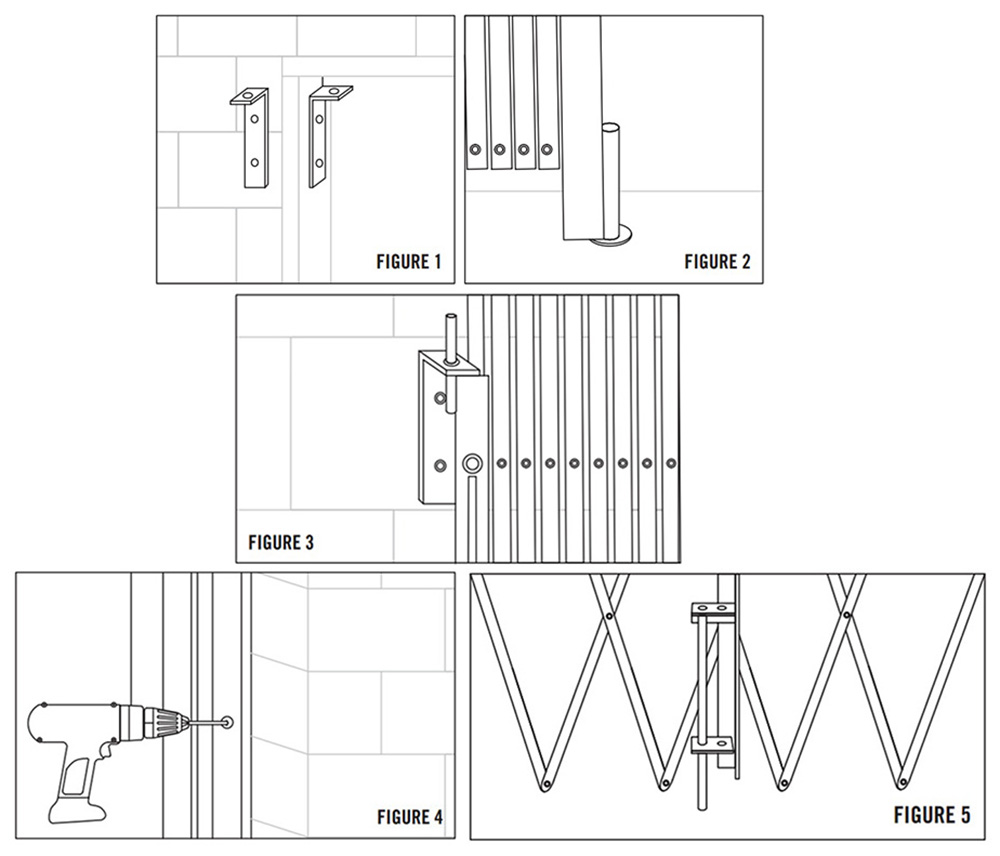
- 1a. Deciding L-Bracket Placement: As shown in Figure 1, you will need to decide the gate placement and, thus, the L-bracket placement. The L-bracket forms the top hinge of the gate. Stand the folding gate against the wall or door frame and mark its placement.
- 1b. Measuring for & Drilling the Floor Hole: With the gate still upright and in line with the L-bracket, have another person help expand the gate. On the floor, mark 11" from the door frame or wall where the gate will be permanently mounted. Then set the gate aside and drill a 3/4" diameter and 3" deep hole in the floor. Place the bearing washer over the hole and then place the bottom gate pin. As shown in Figure 2.
- 2. Verifying L-Bracket Placement: With the bottom gate pin in the floor hole, extend the gate and hang the L-bracket on the top of the gate. Verify where it will be mounted and drill holes into the wall or door frame. *It may be easier to drill the pilot holes if you lift the gate out of the floor.
- 2a. Securing the L-Bracket: Place the bottom gate pin back into the floor hole. As shown in Figure 3, hang the L bracket on the top of the gate and realign it with the pilot holes. Then secure it to the wall with two 5/16" x 2" lag bolts. Also, consider 3/8" holes and using lead anchors.
- 3. Mounting the Locking Bar: With the gate secured to the door frame or wall, extend the gate and determine the placement of the locking bar on the opposite wall or door frame. Align the padlock holes on the gate and the locking bar, mark and drill for pilot holes, then secure the locking bar to the door frame or wall with 5/15" x 2" lag bolts. As shown in Figure 4.
- *4. Drilling the Center Drop Pin Hole: For gates 7 feet and wider, a center drip pin will help with durability. Expand the gate fully and mark for the center drop pin floor hole. Drill a 5/16" diameter and 3" deep hole in the floor. This is shown in Figure 5.
Now that your single folding gate has been installed, you will want to extend and collapse the gate slowly several times to avoid warping and to work out stiffness. Also consider Preferred Security Gates Heavy-Duty Padlock, Cylinder Lock, and Handles.
If you would like to discover other folding gate installation guides or learn more about Preferred Security Gate and the products we offer, please visit our Resources Hub. If you have further questions, please reach out to our sales representatives. They are happy to help in any way they can!
Contact Us
