Portable Barrier Gate Assembly Guide
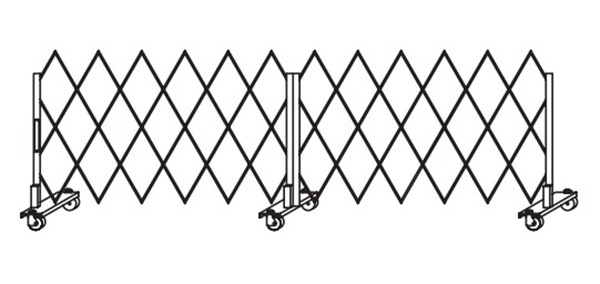
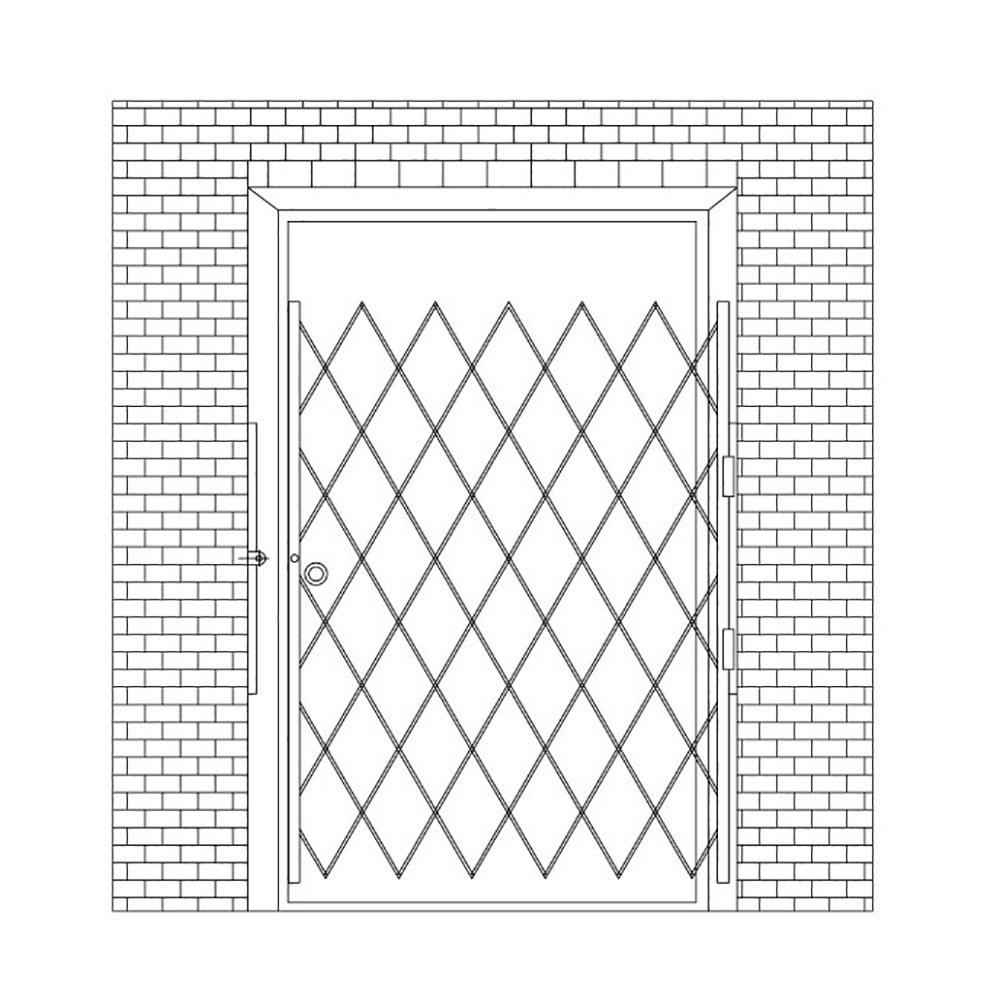
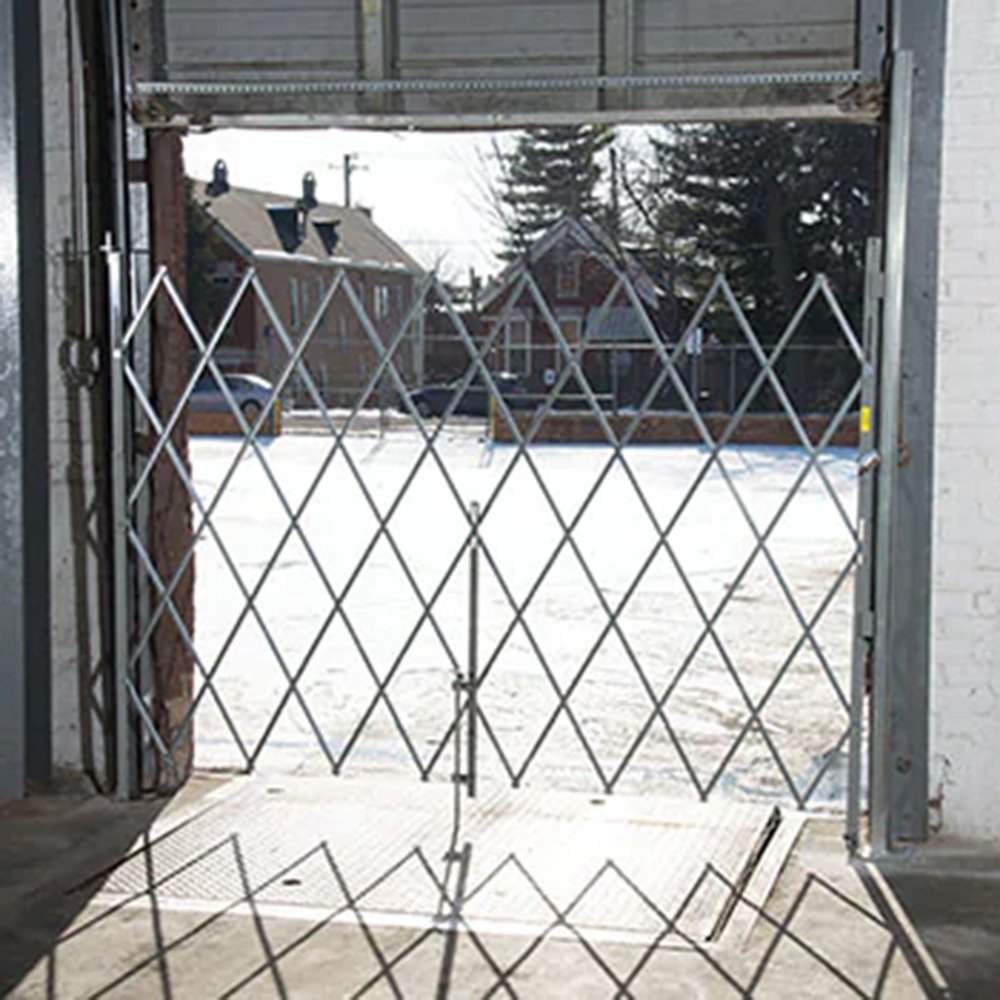
Heavy-duty portable barrier security gates are designed to secure smaller areas, providing quick, easy, and temporary blockage of areas. Extend this gate up to 12 feet, then collapse and transport as needed. These gates come standard in yellow and black powder-coating for maximum visibility.
Portable Barrier Gate Hardware & Tools
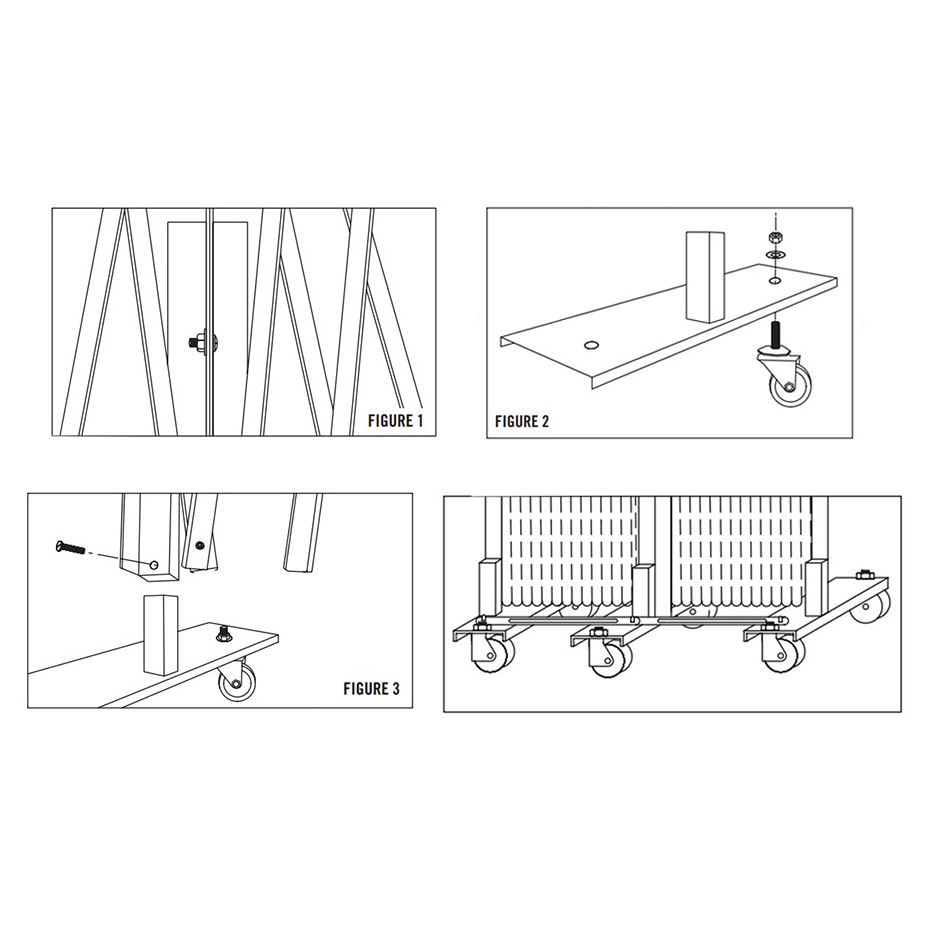
The portable barrier gate includes the following hardware: (3) 1/4"-20 x 3/4" carriage bolts, (3) 1/4"-20 x 3/8" round head bolts, (3) washers, (3) lock washers, (3) small nuts, (6) 1/4"-20 large nuts, (6) 1/2"-13 x 3" casters, and (3) axles.
In addition to the hardware included, you will need a flathead screwdriver and a 3/4" (19mm) wrench or socket.
Portable Barrier Gate Assembly
- Lay the gates on the ground, secure the gate panels together with the carriage bolts, washers, and small nuts by aligning the top, middle, and bottom holes. See Figure 1.
- Secure the casters to the axles by placing the wheel bolt through the axle base and then threading the lock washer and large nut onto the wheel bolt, as seen in Figure 2.
- Insert the axle support into each gate end, as shown in Figure 3, and secure it with the round head bolts.
- Lift the gate up. Extend and collapse a few times to work out stiffness. Then roll into place.
If you would like to discover other folding gate installation guides or learn more about Preferred Security Gate and the products we offer, please visit our Resources Hub. If you have further questions, please reach out to our sales representatives. They are happy to help in any way they can!
Contact Us
