Portable Access Control Gate Assembly Guide
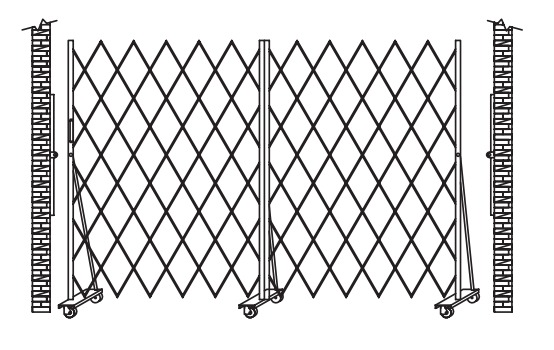
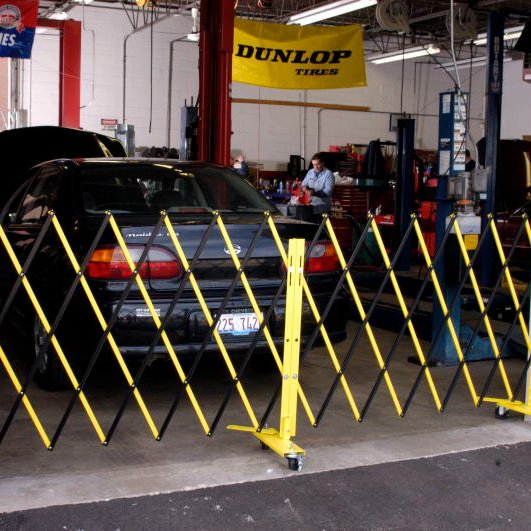
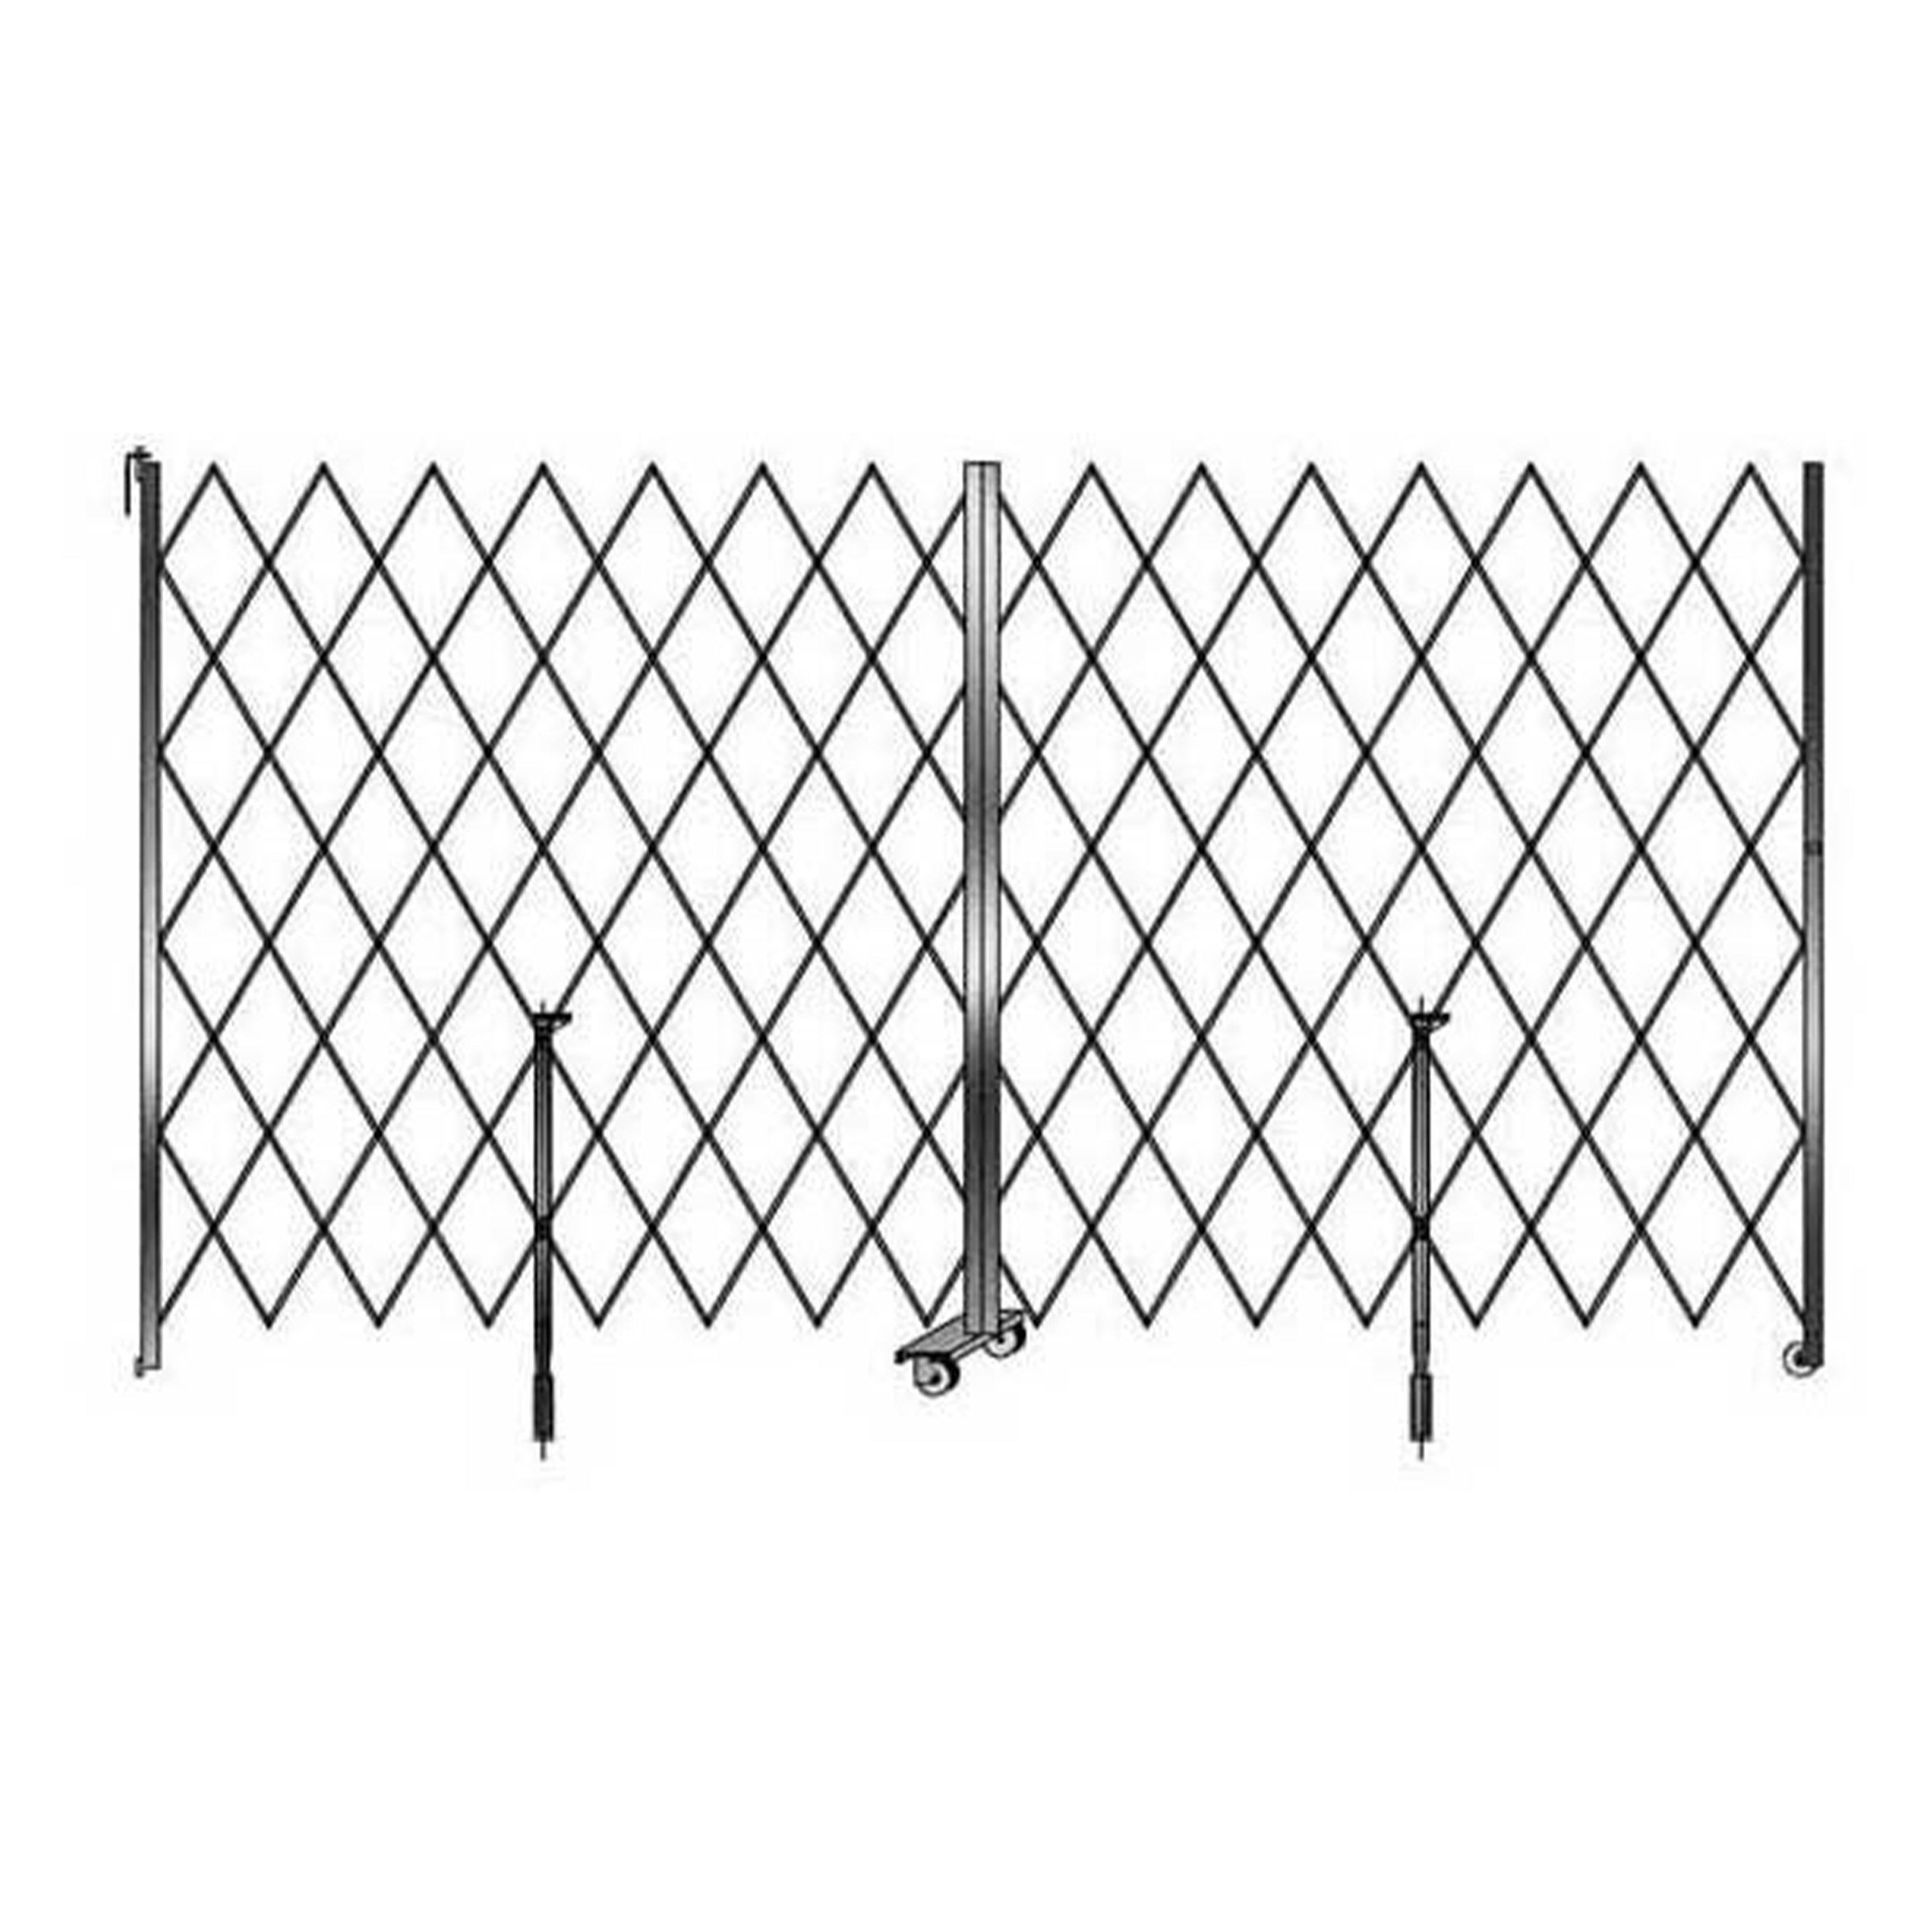
Portable access control gates are popular for small construction project sites, in schools, and throughout hospitals to discourage unauthorized access in areas you may want to block off temporarily. The Portable Access Control Gates include everything you need for assembly. Gather your tools and follow the instructions carefully to assemble your portable access control gate and roll it around your business, store, warehouse, and more.
Portable Access Control Gate Hardware & Tools
The portable access control gate comes with (5) 1/4"-20 x 3/4" carriage bolts, (3) 1/4"-20 x 3/8" round head bolts, (3) washers, (6) lock washers, (6) braces, (3) support braces, (5) 1/4"-20 nuts, (6) 1/2"-13 nuts, (6) 3" casters, (2) wall locking bars, and (3) axles.
In addition to the included hardware, you will need a flathead screwdriver and a 3/4" (19mm) wrench or socket. While this gate is portable, the locking bars are available and do not include mounting hardware. To mount the locking bars you will need 5/16" x 2" bolts, a drill, and a 3/4" masonry drill bit or a 1/4" masonry and wood drill bit.
Portable Access Control Gate Assembly
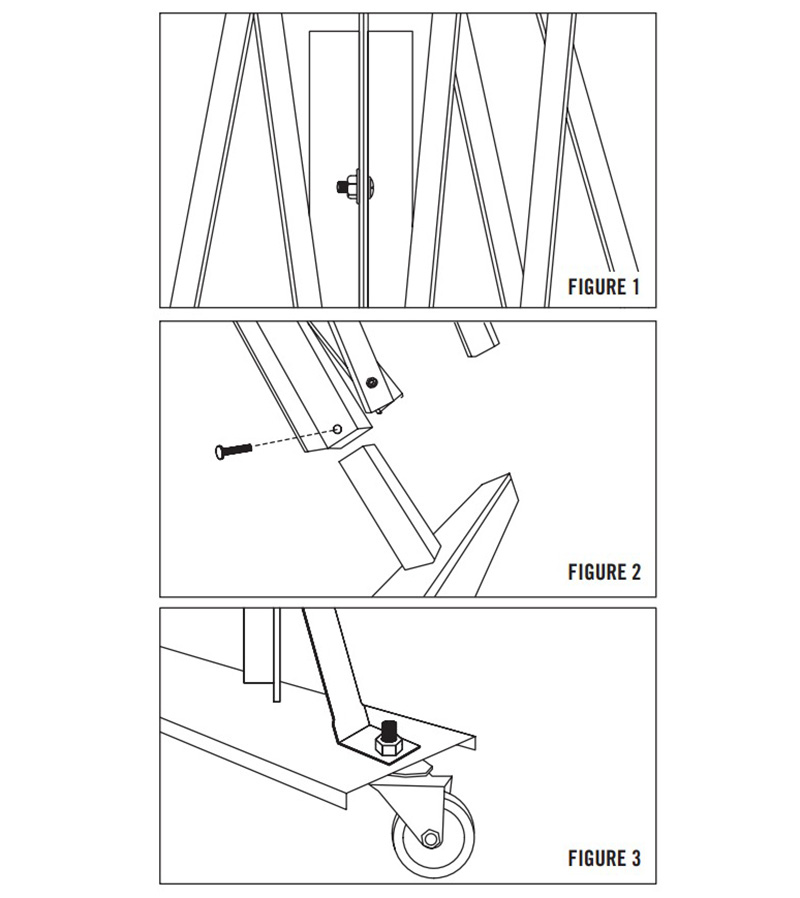
- Bolt the gate panels together at the top, middle, and bottom with the carriage bolts, washers, and small nuts, as shown in Figure 1.
- Bolt the support braces onto the middle hole on either end of the gate using the carriage bolts, washers, and small nuts.
- Insert the gate ends to the axle supports and secure with the round head bolts. Tighten with the screwdriver as seen in Figure 2.
- Attach the casters to the axle supports but insert through the axle support base and the support base hole. Secure with a lock washer and larger nut and tighten with the wrench. See Figure 3.
What about the Locking Bar?
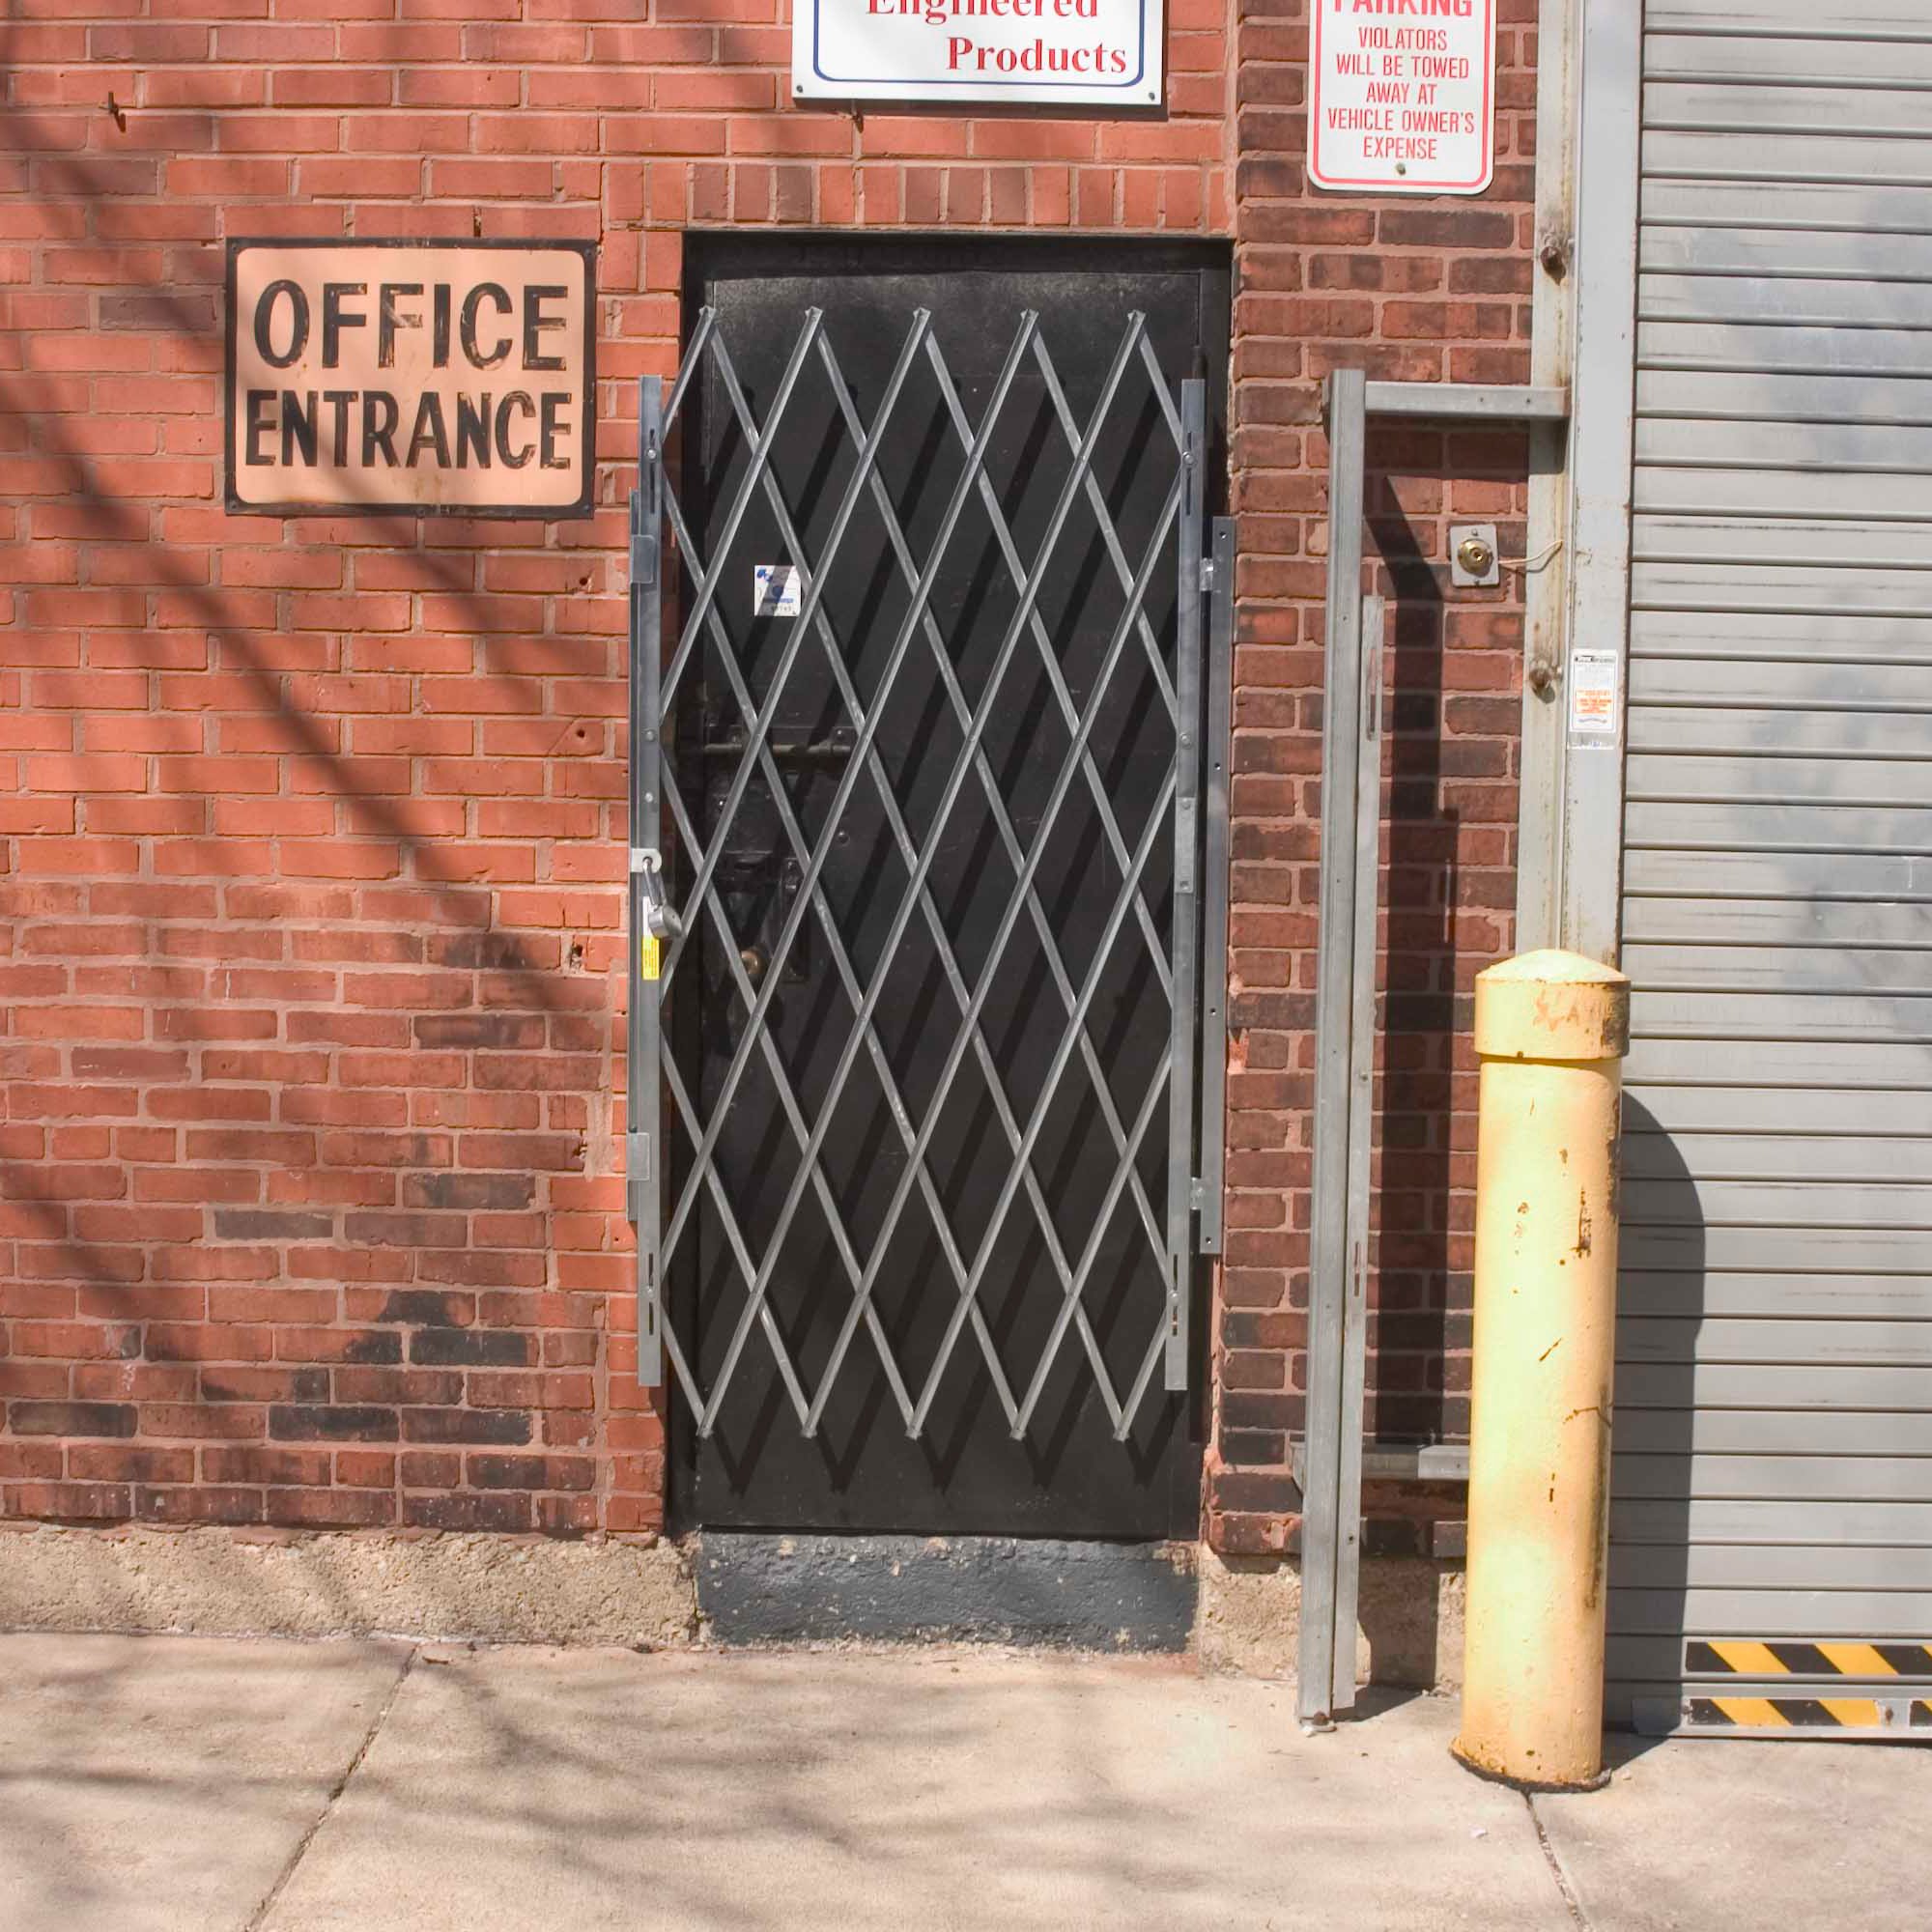
The locking bar is mounted to a wall or door frame if the portable access control gate will be located in the same spot for a long time. To lock the gate in place, you must determine where it will fit and be placed.
Position one side of the gate along the wall. Place the locking bar against the wall and align the padlock holes on the gate and locking bar. Mark where the locking bar needs to be mounted, drill the pilot holes and secure the locking bar to the wall with 5/16" x 2" bolts.
With one locking bar mounted, repeat on the other side and lock with padlock as needed.
If you would like to discover other folding gate installation guides or learn more about Preferred Security Gate and the products we offer, please visit our Resources Hub. If you have further questions, please reach out to our sales representatives. They are happy to help in any way they can!
Contact Us
